Description
- STEP 1 : Make sure that your car exterior is clean, dry and cool to the touch.
- STEP 2 : Inspect the surface of your vehicle for scratches, handling them one at a time unless they're all localized in one area.
- STEP 3 : Section off each area that needs treatment with painter’s tape.
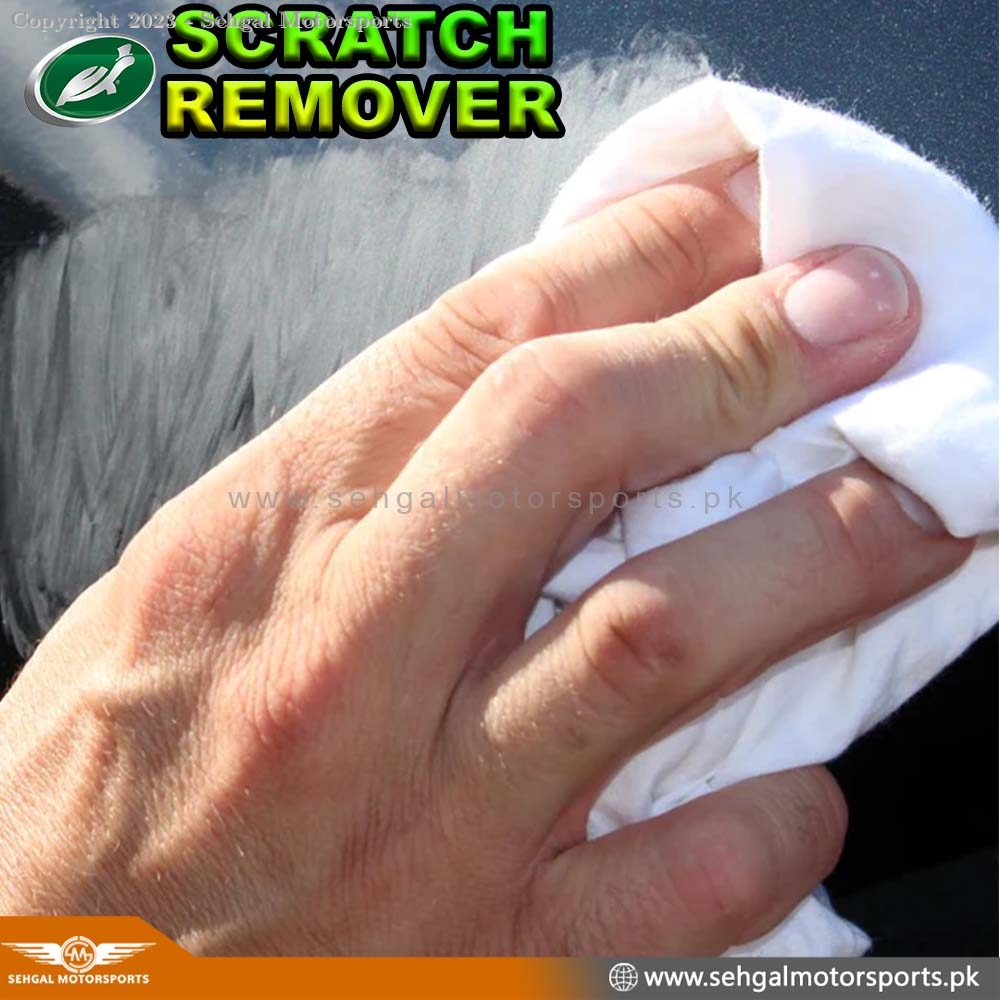
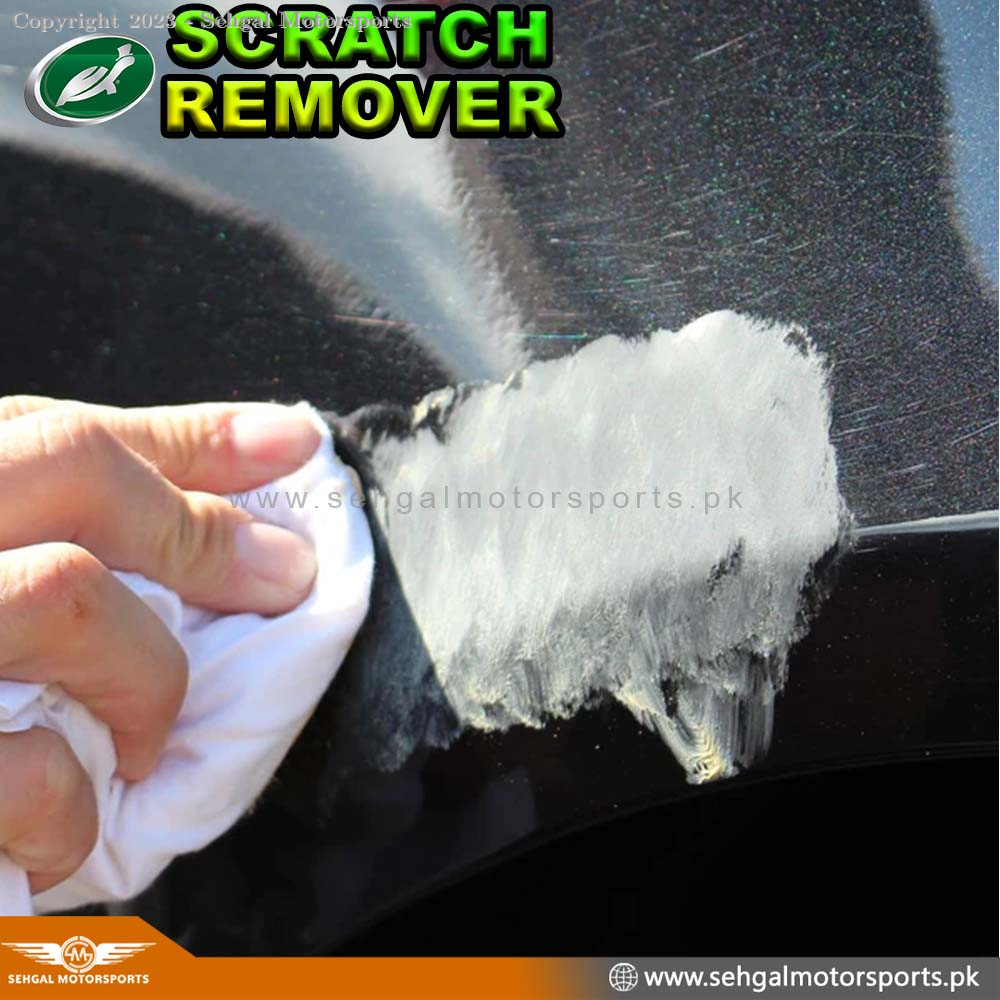
- STEP 4 : Start with the scratch repair compound, adding a small amount of product to a cloth or applicator pad and rubbing it into scratched areas in overlapping, cross-hatching motions.
- STEP 5 : Check your work. If scratches are still visible, apply the least aggressive pad, labelled with the highest number, using water as a lubricant, moving in parallel and perpendicular passes.
- STEP 6 : Once scratches have been removed, use the lower grit pads to smooth and polish any fine lines and swirls, finishing with a final buff using the scratch repair compound.
- STEP 7 : Remove the painter’s tape and wipe down the entire corrected area(s).
- STEP 8 : If desired, follow scratch repair treatment with a wax.
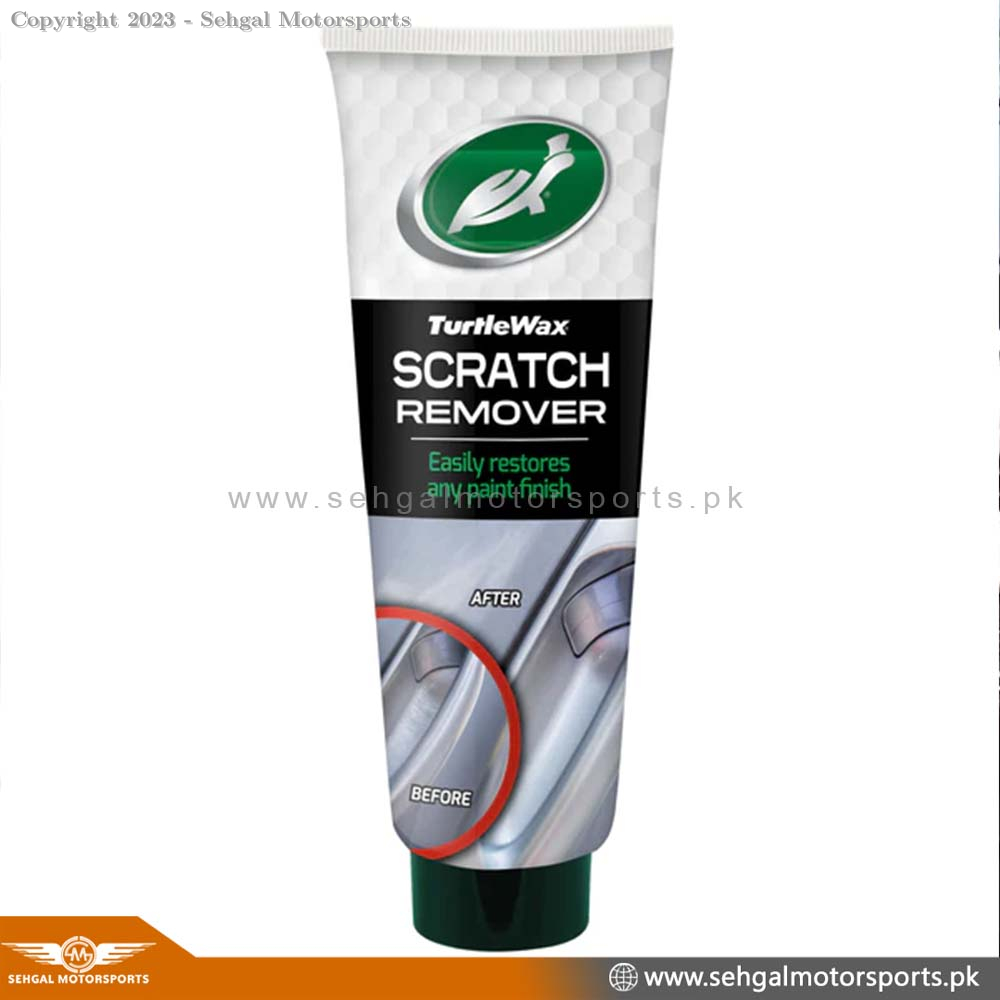
This all-in-one scratch remover kit has everything you need to erase scratches, scuffs and swirls in your clear coat and restore worn surfaces to like-new condition.


